Saturday, June 23, 2012

So, I did that.

I took a thrifted vintage suitcase, reupholstered it for a DIY on this blog AND THEN PROCEEDED TO MAKE A MATCHING DRESS. From the left over fabric. Because I'm going to Georgia!! In two and a half weeks!


Not going to lie, this dress was a total trouble maker. I was short on fabric (because I reupholstered a suitcase first!) so the skirt's wicked short, and I totally cut one of the sides wrong I'm guessing because one sleeve and one side of the back was all messed up. But in the end, it was full of lessons that I needed to learn (one being I should probably look up just how to make an armhole and a sleeve!) So it was a good thing all around. 

In blog related news, posts may be spotty for the next week or two, but I'm trying to get back to posting five days a week again! Someday soon, I promise!


xo

Wednesday, June 20, 2012

Workin' and Wearin' Wednesday

This dress. I am in love. It's such an amazing feeling to have people complement my dress all the while knowing it's ALL ME, BABY. I have some kinks to work out in the shoulders and sleeves still, but I think I'm getting the hang of it!


(These are also some pretty good shots of my pink and purple hair!)


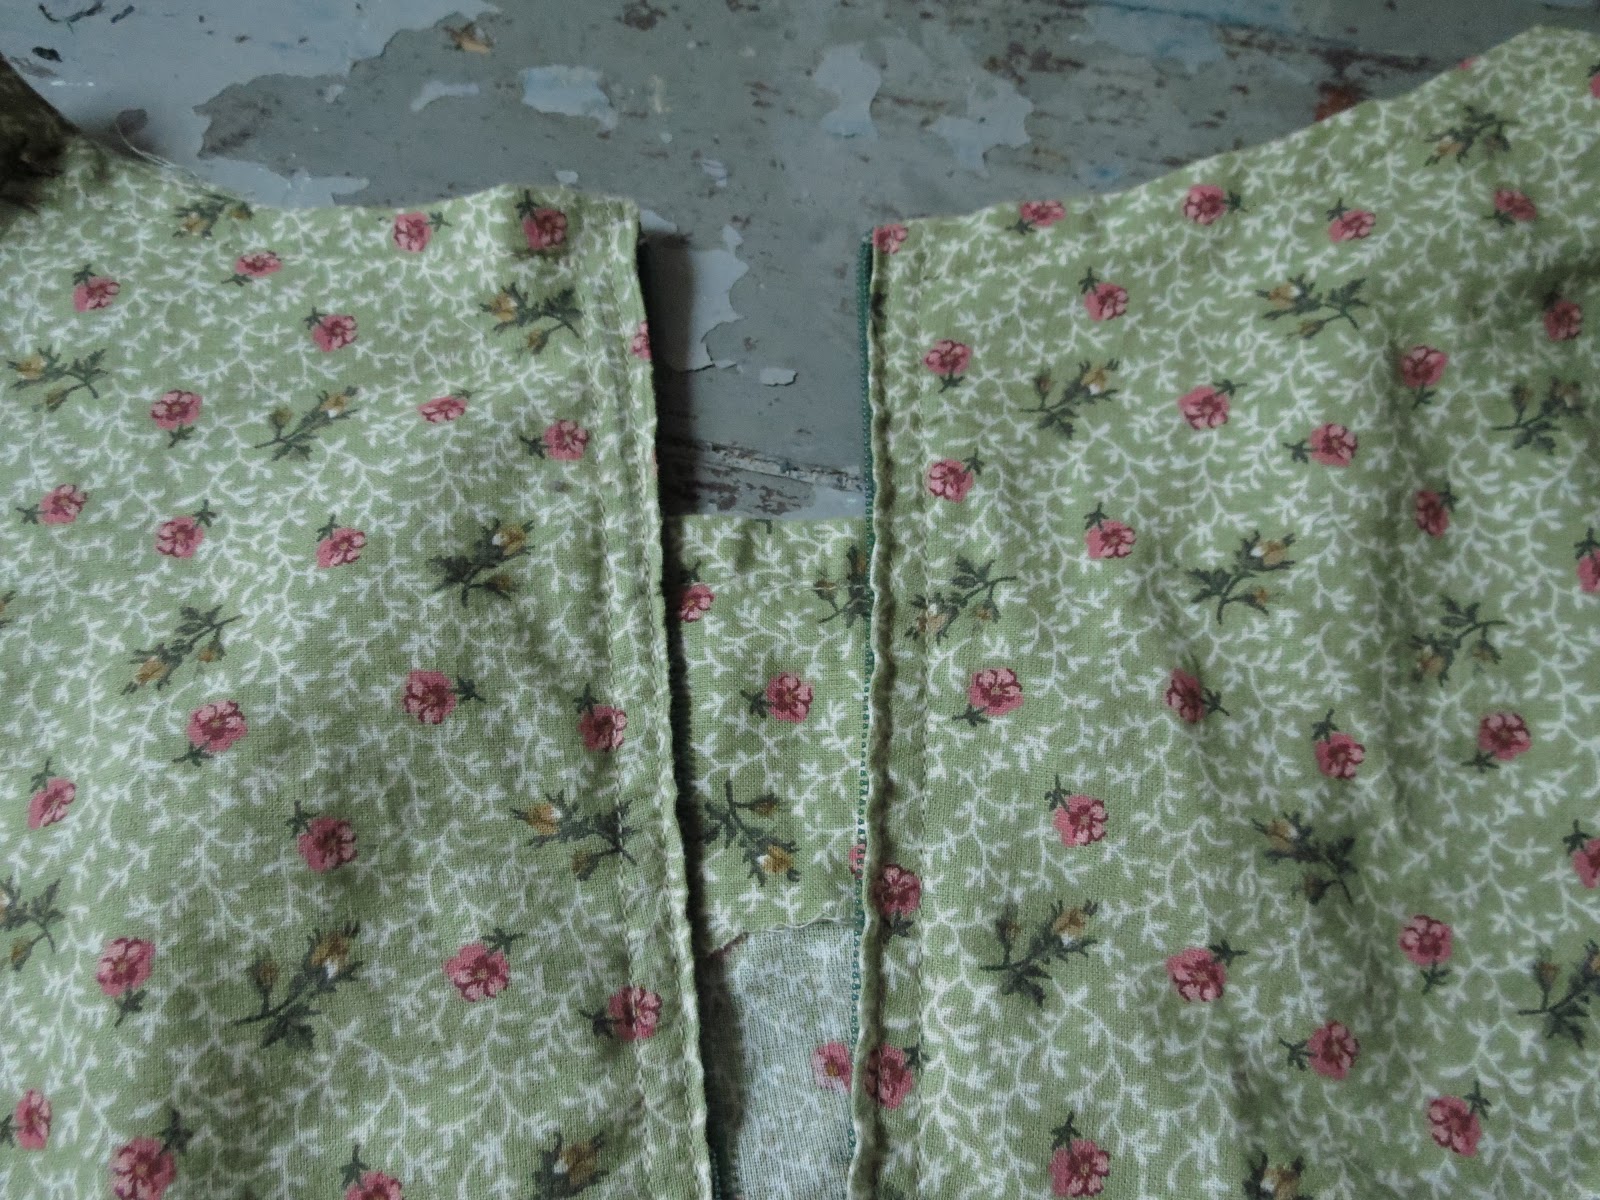
I goofed on the zipper, so I can't actually pull it over my manikin's shoulders. Oops!


Mmm, wrinkly sleeve.


The zipper was a TOTAL pain! But it was so wonderful to finish because I was like HECK YEAH ZIPPER. Take that! The compliments from my mother and grandmother made everything worth it.


And the pleats! I had so much fun with them.


Totally not dress related, but I made the innards of this locket! Which was a loving gift from my doting grandmother. We had a good time together when I was showing off my dress to her, she regaled me with the tales of her youth and her sewing blunders (because we made the same mistakes!) and just so many wonderful stories.

And truth be told, the internet was acting up something feirce (hence the lateness of this post!) and so, in the mean time I devcided to go cut some fabric for my next dress, and not only did that but sewed the entire bpdice togteher! I might have gotten a bit carried away... C'est la vie!


xo

Monday, June 18, 2012

Thriftin' Tuesday!

One day, I will have multiple how-to's and DIY posts! Just once everything settles down for a gosh darn minute! But in anycase, these weren't technically thrifted, but I came across them at a yard sale as I adventured to the local coffee shop so I could get a needed caffeine fix. I of course got tea cups, and a tea pot. And another ceramic container!

But isn't this tea pot just perfect? I swooned a bit upon sighting it. I now make my tea downstairs and have tea parties with myself in my room as I work now, an abundance of tea contained within this pot!


And these cups! They're so beautiful! I love the strawberries and gold accents on the rum and handle.


I'm hiding my special secrets in this here container, it's just so awesome!


So wonderful. 
But! Tomorrow!
 I'm going to blog about the dress I most recently made, and am so totally in love with


Makin' It Monday: Wooden Brooches!

It is here I make my return! I've been having a blast making these little wooden brooches from the tree-branch my dad sawed up for me, so I thought I'd share my secrets of making them!

First! 
You'll need a glue gun and a pin back, along with whatever you are going to turn into a brooch.


Then you'll want to heat up the glue gun and attach the pin back to which ever side you desire. I choose the side that would have distorted the image more.


So simple! You could be done! If you had something that you weren't going to draw on, naturally!


I did a very basic sketch of what I wanted on the wood with a regular 2b pencil


And then finished it up by inking it with Microns and adding extra shading!


And of course, instagram.


There you have it! All my dark secrets of how I make my brooches! 


xo


Friday, June 15, 2012

Eep!

Life caught up with me, and has caused a rather heavy and unexpected absence from me! I leave you with love and promises of posts starting again on monday!


xo

Wednesday, June 13, 2012

Workin' Wednesday: Dresses, Necklaces and Commission's!

These are my two new lucky necklaces! The one on the right is for sale on etsy, and the one on the left has been added to my personal collection of necklaces. I'm such a bum! I was worried about the clovers loosing their colour, but I had made sure to press and dry them before pouring the resin, and they haven't lost any colour at all!


Patterns!


All my pretty pretty fabric!


I just bought 5 yards of muslin the other day, and so I've spent my free time pattern making, snipping and sewing! As you can see by the previous two photos, oh well!


And this last one is a commission I finally finished and got all framed and the like! So pretty and fancy!


It's my mission this week to do many drawings and sewing, we shall see how this turns out!


xo

Tuesday, June 12, 2012

How Tuesday: Super Cute Suitcases!

So, I was on A Beautiful Mess's Blog and found the coolest DIY suitcase re-upholstery! Which the link will guide you back to! I've got  the need for adventure tingling in my veins, so making this little project was soothing. Onward to the project!


Step One.
Materials!
One suitcase with side stitching like this one has. Acquired for the high price of 3.98 (!!!) 
Fabric of choosing
Mod Podge
Brush (to apply Mod Podge)
Good Scissors
Pencil
Butter Knife, or in my case sculpting tool of unknown name.


Step Two.


Flip your fabric so the wrong side is facing up. Place on suitcase and with pencil trace the area of your suitcase by following the divot along the edge of the suitcase where the seam is.

Step Three. 


Trim you fabric about 1/2 inch away from where you marked it.


Step Four.

Mod Podge the heck outta that there suitcase!


Okay, okay, don't go crazy! Mod Podge a bit at a time laying down your fabric over it and sort of pressing down on your fabric to really secure it. 


Step Five.

Utilize whatever tool you have to tuck in the fabric into the seam. If you want you can secure it even further with some more Mod Podge. 
 

And there you have it! Super easy and so much fun.
Make sure to let each side completely dry before heading on to the next one! 
I'm pretty exited to go travling with my new suitcase, not gonna even try to lie about that one.


Love and Strawberry Kisses xo